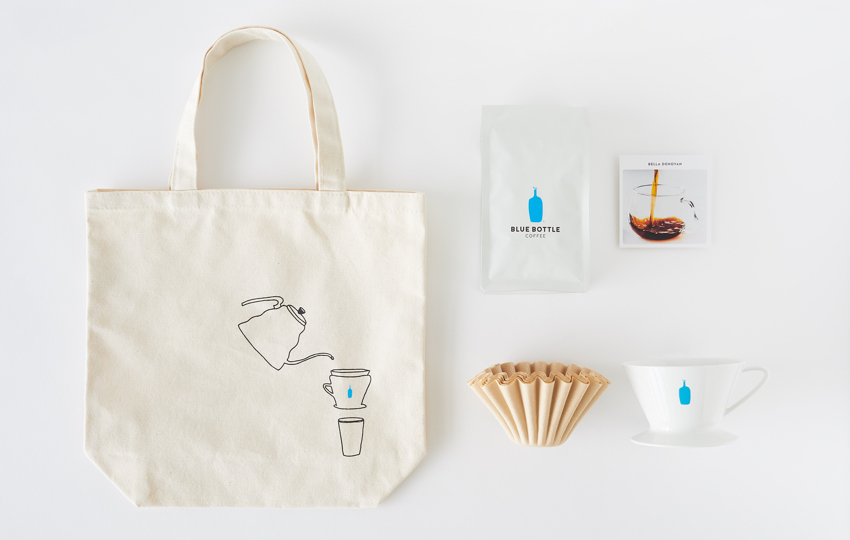
What You'll Need
Brew Time
2½ - 3 minutes
Have Questions?
Ask our experts at support@bluebottlecoffee.com
2½ - 3 minutes
Ask our experts at support@bluebottlecoffee.com
Blue Bottle was founded by James Freeman in 2002 with a simple yet revolutionary idea: to brew coffee to order, using the pour over method.
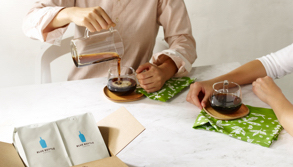
The ritual of the pour over is like a meditation: There’s no machine in your way, no flashing green lights, no electric power cords. Just you and a few simple tools. If you’ve never tried a pour over before, the final cup is reminiscent of one from a drip coffee maker, but noticeably more delicate and complex.
If you’re familiar with the method, we invite you to try our version. It lends itself to mastery both on the first try and the one hundredth. Find a few minutes to slow down: observe the bloom — that swell of the coffee grounds after the first pour and experience the first trace of coffee-drunk steam. Notice how the flow rate and the spiral of each pour can alter the flavors in the final cup. We’ve perfected our method over twenty years of obsessive tinkering and are proud to share it here.
For a limited time, dripper plus filters are on us when you sign up for a coffee subscription.
Step 1
Bring at least 600 grams (20 oz) of water to a boil.
Step 2
Grind coffee to a coarseness resembling sea salt. For blends, we recommend using 30 grams of coffee. To enjoy the nuanced flavor of a single-origin coffee that is lightly roasted, we recommend less coffee: 22 grams for every 350 grams water.
Step 3
Place a filter in the dripper.
If you are using a custom Blue Bottle filter, there is no need to pre-wet it. If you are using a #2 filter with another dripper, we recommend wetting the filter with hot water and then dumping the water before proceeding with brewing.
Step 4
Add the ground coffee to the filter and gently tap it to level the surface of the grounds. Place the brewer on a carafe or cup, place this entire set-up onto a digital scale, and set it to zero.
Step 5
There will be four pours total for this coffee preparation. This is the first, and the most magical, because it is when you will see the coffee “bloom.” As hot water first hits the grounds, Co2 is released creating a blossoming effect—the grounds will rise up en masse.
Start a timer. Begin pouring water slowly over the coffee, starting at the outer rim and moving in a steady spiral toward the center of the grounds. Stop pouring when the scale reaches 60 grams. Make sure all the grounds are saturated, even if you need to add a little water. The pour should take about 15 seconds. Give the coffee an additional 30 seconds to drip before moving on to the second pour.
Step 6
Starting in the center of the grounds, pour in a steady spiral toward the outer edge and then back toward the center. Be sure to pour all the way out to the edge over the ripples in the filter. This helps to keep grounds from being trapped in there and removed from the rest of the extraction. Add roughly 90 grams, bringing the total to 150 grams. The goal during this pour is to sink all of the grounds on the surface of the bed. This creates a gentle turbulence that “stirs” the coffee, allowing water to more evenly extract the grounds. Allow 45–65 seconds to elapse.
Step 7
As the mixture of water and coffee from the second pour drops to the bottom of the filter, coming close to the level of the grounds, pour an additional 100 grams of water using the same pattern as the second pour. This brings the total up to 250 grams and should take 15–20 seconds.
Step 8
When the water and coffee from the third pour drops to the bottom of the filter, complete your fourth and final pour. Add 100 grams, bringing the total up to 350 grams of water. This pour should take 20 seconds.
We source great coffees, roast them to perfection, and get them to you fresh.
Try your first coffee bag on us.
Enjoy a fine cup of coffee.
We source great coffees, roast them to perfection, and get them to you fresh.
Try your first coffee bag on us.


